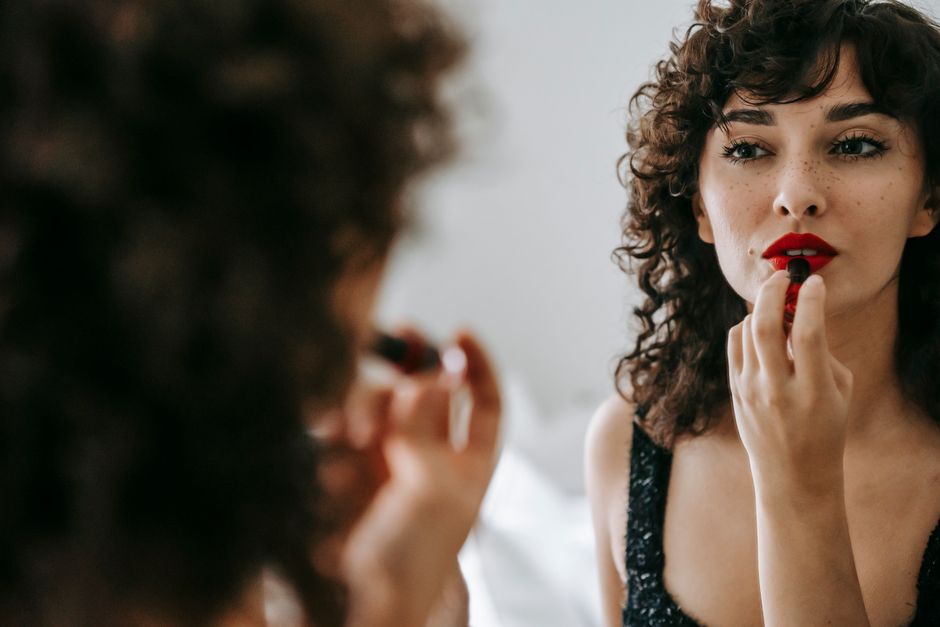
Dark lip colors for autumn can feel surprisingly easy to wear once you control the application. Burgundy, blackberry, oxblood, and deep brown all make a simple makeup look feel intentional, but they do not have to mean a heavy, perfectly sculpted face. The most useful starting point is deciding how much definition you want: a soft wash, a gently blurred edge, or a crisp, opaque finish. From there, a few practical choices help you keep the color even, comfortable, and easy to refresh.
Choose the effect before the shade
A dark lipstick can look very different depending on how you apply it. Before committing to a full coat, try tapping a little color onto the middle of your lips and spreading it outward with a clean fingertip. This gives you a softer version of the shade and helps you see whether you enjoy wearing it across your whole face.
Depth and coverage matter as much as the color family. A sheer plum may feel easier than an opaque brown, even when both look equally dark in their packaging. You can also build a familiar berry shade gradually instead of moving straight to the deepest color available.
- For an understated look: tap on a thin layer and soften the border.
- For everyday definition: use a light outline with a satin finish.
- For a dramatic finish: build even coverage with a clearly defined edge.
Match the finish to your plans
Satin for a flexible starting point
A satin finish offers noticeable color with some softness on the lips. It is a useful starting point if you want definition without emphasizing every small movement of your mouth. Apply it in thin layers so the color stays manageable, and expect to check it after food or drinks.
Matte for a more graphic look
Matte dark lips create a strong outline, which can make uneven edges more noticeable. Choose a texture that feels comfortable when you speak and smile. If a formula feels tight or makes you want to rub your lips together constantly, try a different finish rather than adding more layers to compensate.
Gloss for a reflective effect
A glossy berry or brown can look relaxed, although a slippery texture may need more frequent attention around the edges. Start with a small amount. If you are adding gloss over lipstick, keep it mainly toward the center instead of spreading a thick coat right up to the border.
Prepare just enough for smooth application
Before applying color, check that your lips feel comfortable. If they feel dry, apply a plain lip balm you already tolerate, let it settle while you do the rest of your makeup, then gently blot away excess. A thick, slippery layer underneath can make it harder to place a precise outline.
Avoid scrubbing or picking at flakes to get a perfect canvas. If your lips are sore, split, or irritated, give the dark lipstick a break. For persistent cracking, irritation, or other ongoing lip problems, speak with a dermatologist or doctor. Makeup should feel comfortable, and extra pigment will not fix an uncomfortable surface.
Build a clean outline without making it rigid
Work in good light with a mirror close enough to see your natural lip border. Keep your mouth relaxed rather than stretching it into a broad smile. Start with small strokes around the cupid’s bow and the middle of the lower lip, then connect those sections toward the corners.
A lip liner close to your lipstick color can make placement easier. Keep the line light at first, especially around the corners, where a heavy outline can collect. For an even result, lightly shade inward from the border so you do not leave a strong ring when the center of your lipstick fades.
Follow your natural shape while you learn how the color behaves. Dark pigment makes changes to the outline more visible, so a tiny adjustment can have a large effect. Step back from the mirror before correcting anything; the goal is a balanced appearance, not identical curves viewed at close range.
Apply thin layers and check the details
- Place the first layer. Apply a little lipstick to the center, then work outward. Use the tip of the bullet or a clean lip brush wherever you need more control.
- Even out the coverage. Fill bare patches with small amounts of color instead of repeatedly sweeping over the whole lip.
- Blot gently. Press a tissue lightly against your lips without rubbing. If needed, add another thin layer, following the formula’s application instructions.
- Check the corners. Relax your mouth, speak, and smile. Remove pigment sitting outside the border with a clean cotton swab.
- Check your teeth. Look for transfer before leaving, particularly if you applied color close to the inner edge of your lips.
If the edge needs cleaning, use a little makeup remover suitable for lips on the swab, then let the area dry before repairing the line. Dragging pigment back and forth can create a wider stain. Remove misplaced color before adding any concealer around the edge.
Give the rest of your makeup a clear role
Dark lips do not require full coverage foundation. Use your usual base where you want it, then look at your face as a whole. A little blush can help connect the lip color to the rest of your makeup if the overall effect feels stark. Build it gradually after the lipstick is on.
For an easy daytime combination, try softly defined brows, mascara, and a quiet wash of eye color. For evening, you can add eyeliner or more eye definition if you enjoy it. There is no rule that a strong lip must stand alone; consider whether each element looks deliberate together.
Let clothing support the mood without requiring an exact match. A dark berry lip can bring interest to a cream knit, while a deep brown can sit comfortably alongside denim and a simple shirt. If your outfit already contains several strong colors, a softer application may be all the emphasis you want.
Refresh the center before redoing everything
Check your lipstick after eating and drinking, especially where your lips meet. If the center has faded but the outline still looks good, blot away loose residue and add color only where needed. Repeatedly coating the entire lip can leave a heavy outer edge and an uneven middle.
If the finish has become patchy or uncomfortable, remove it gently and start again with a small amount. Carry your lipstick, a mirror, and a tissue for straightforward touch-ups. At the end of the day, use a makeup remover suitable for lips, following its directions, and avoid rubbing hard to chase away every trace of staining. Next time, adjust the coverage or finish based on what felt easiest to wear.
