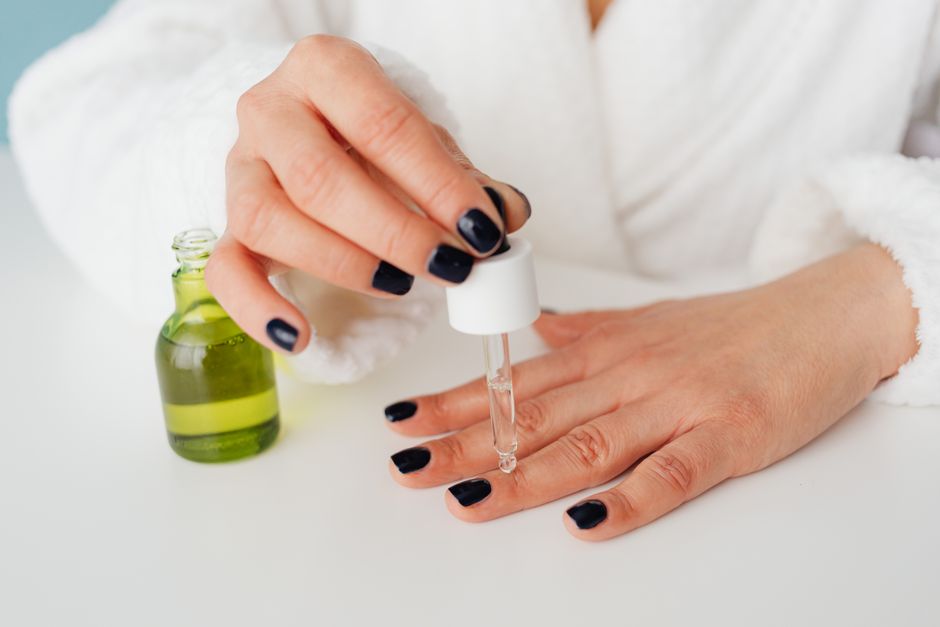
Spring nail care starts with the small things your hands do every day. Gardening, cleaning, washing dishes, and opening packages can all leave natural nails with rough edges or broken tips. Keeping them strong is less about an elaborate manicure and more about choosing a comfortable length, grooming gently, and protecting them during messy jobs. Whether you enjoy soft spring colors or prefer bare nails, a simple routine can help you keep the edges neat without making nail care another demanding project.
Give your nails a practical starting point
Remove any old polish gently and look at your nails in good light. Notice which tips catch on clothing and whether your usual length works for daily tasks. Natural nails do not have to look identical. A slightly different outline on each finger is not a reason to keep filing until everything matches perfectly.
Choose a length that lets you type, fasten buttons, and wash your hair comfortably. If your nails repeatedly bend or catch, shorten the free edges a little. Keep the goal realistic: fewer snags and easier maintenance. Persistent changes in color or texture deserve professional advice rather than more polishing, buffing, or covering up.
Shape the edges with a light touch
Use clean nail clippers to remove excess length in small cuts, then refine the edge with a fine nail file. Work slowly and use gentle, controlled strokes. Stop once the edge feels smooth instead of repeatedly filing the same spot. Avoid digging into the sides, which can leave an awkward shape that catches as it grows.
A rounded or softly squared outline is straightforward to maintain. Follow the general shape of your fingertip and smooth any sharp corners. Check for snags by lightly running a fingertip along the edge. Fix the specific rough spot rather than taking more length off every nail. Your nails should suit your hands and activities, not a rigid shape rule.
Skip aggressive surface smoothing
A shiny surface can look polished, but frequent buffing removes nail material. Avoid trying to erase every ridge or mark. If you enjoy a buffed finish, be restrained and follow the tool’s directions. When nails already feel thin or fragile, leave the surface alone and concentrate on keeping the free edge smooth.
Make moisture easy to remember
After washing and drying your hands, massage a plain, fragrance-free cream over your fingertips and around the nail edges. Keep it near a sink or beside your bed so using it feels convenient. Pay attention to the skin alongside each nail, where dry, loose pieces can make picking tempting.
Cuticle oil is optional if you enjoy the texture; a complicated collection of treatments is unnecessary. Use a small amount and stop if a product stings or irritates your skin. Moisturizing can help with dryness, but it cannot fuse a split nail back together. Keep expectations focused on comfortable skin and manageable nails.
Leave attached cuticles alone
The cuticle helps protect the area where your nail meets the skin. Do not cut it or push it back forcefully to make the nail look longer. If a hangnail is completely loose, carefully clip only that detached piece with a clean tool. Pulling or biting it can tear the surrounding skin.
Prepare for spring cleaning and gardening
Before starting a hands-on job, put the right tools within reach. Nails are convenient for lifting tape or loosening a lid, but those habits put pressure on the tips. A package opener, scissors, or an appropriate household tool makes it easier to avoid using your manicure as equipment.
- For wet cleaning: wear suitable household gloves and follow cleaning-product instructions. Put gloves on dry hands and let their interiors dry between uses.
- For gardening: choose gloves that fit securely enough to grip tools. Wash away dirt afterward instead of scraping under nails with a sharp object.
- For dishes: limit unnecessary soaking and use gloves when practical. Dry your hands thoroughly after washing up.
- For tidying: stop when a nail catches on fabric. Release it carefully and smooth the snag before continuing.
If your gloves become wet or sweaty inside, take a break when practical, dry your hands, and change to a dry pair. A comfortable fit matters because protection only helps when you actually use it. Keep gardening gloves near your tools and cleaning gloves near the sink rather than tucked away elsewhere.
Enjoy polish without rough removal
Spring color is optional, and bare nails can look just as considered with tidy edges. If you use polish, follow its directions, keep it off surrounding skin, and allow enough drying time before returning to chores. Do not apply another coating simply to hide irritation or a nail change you have not checked.
When removing color, give the remover time to work according to its instructions rather than scrubbing repeatedly. Use it in a ventilated space, then wash and moisturize as directed. Never peel polish or enhancements off. For a coating that resists ordinary removal, follow the correct removal process or ask a qualified nail professional for help.
Be selective about extra treatments
A label promising strength does not mean a hardener is essential for everyone. Read directions and warnings, and stop using any product that causes irritation. If your nails feel fragile, simplify your routine before adding more steps. Fewer coating changes and less filing may be easier to manage than layering several treatments.
Respond gently when a nail splits
For a small split at the free edge, shorten the affected tip if you can do so comfortably, then gently smooth the snag. Avoid picking apart peeling layers. Keep the remaining length practical while the damaged section grows out. There is no need to keep every nail long just because you have already spent time growing them.
Do not file into an attached split or place cosmetic glue over broken skin. If a nail is painful, bleeding, lifting, or damaged beyond the free edge, leave further trimming alone and seek medical advice. See a dermatologist or doctor for persistent peeling, unusual discoloration, swelling, or other ongoing nail problems rather than trying to diagnose them yourself.
Keep a small weekly reset
Once a week, check your edges, adjust the length if needed, and clean your grooming tools according to their care instructions. Let tools dry before storing them and avoid sharing them. Keep a file somewhere convenient so a small snag can be handled before you start picking at it during the day.
Between those checks, return to the basics: dry your hands after washing, moisturize when needed, and protect your nails during chores. Measure progress by comfort and fewer catches on clothing. Your spring nails can be colorful, clear, or completely bare; gentle handling gives any of those looks a practical foundation.
